Creating a Custom Travel Journal

Creating a Custom Travel Journal

Influenced by Instagram and ready to take on a DIY project, I stopped by my local Goodwill NCW location in search of a wallet to flip into a travel journal. I found a simple faux leather wristlet for just $1.99 that had a structure I could work with.
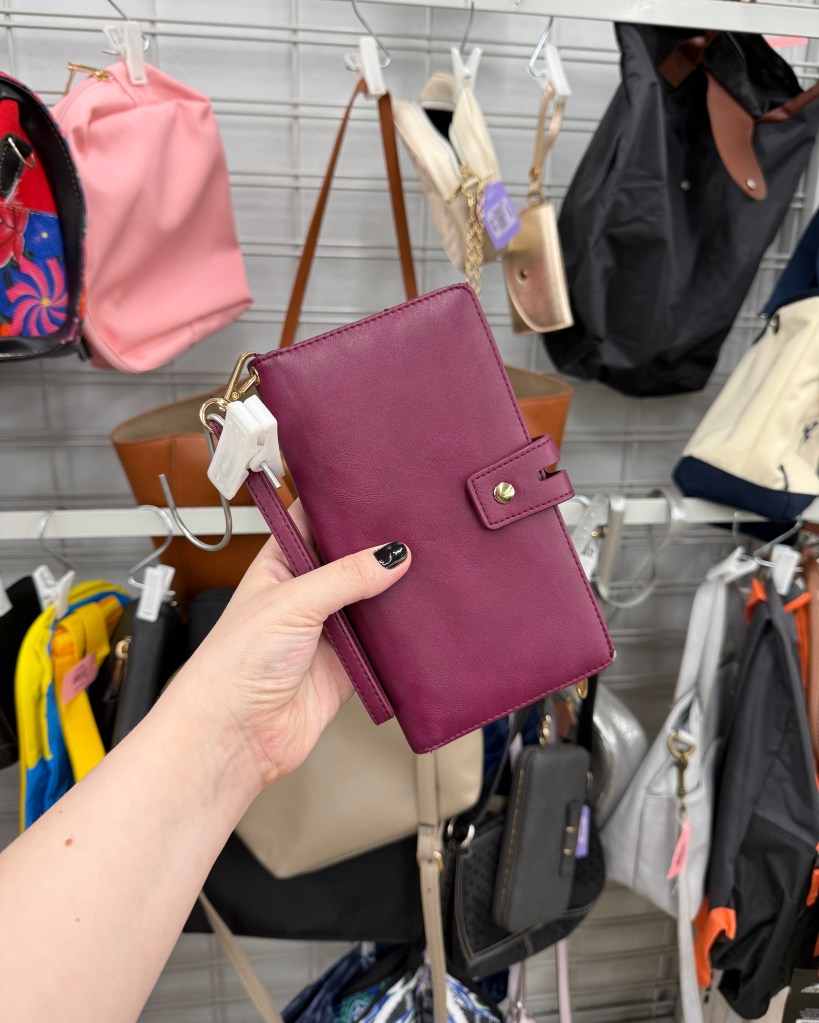
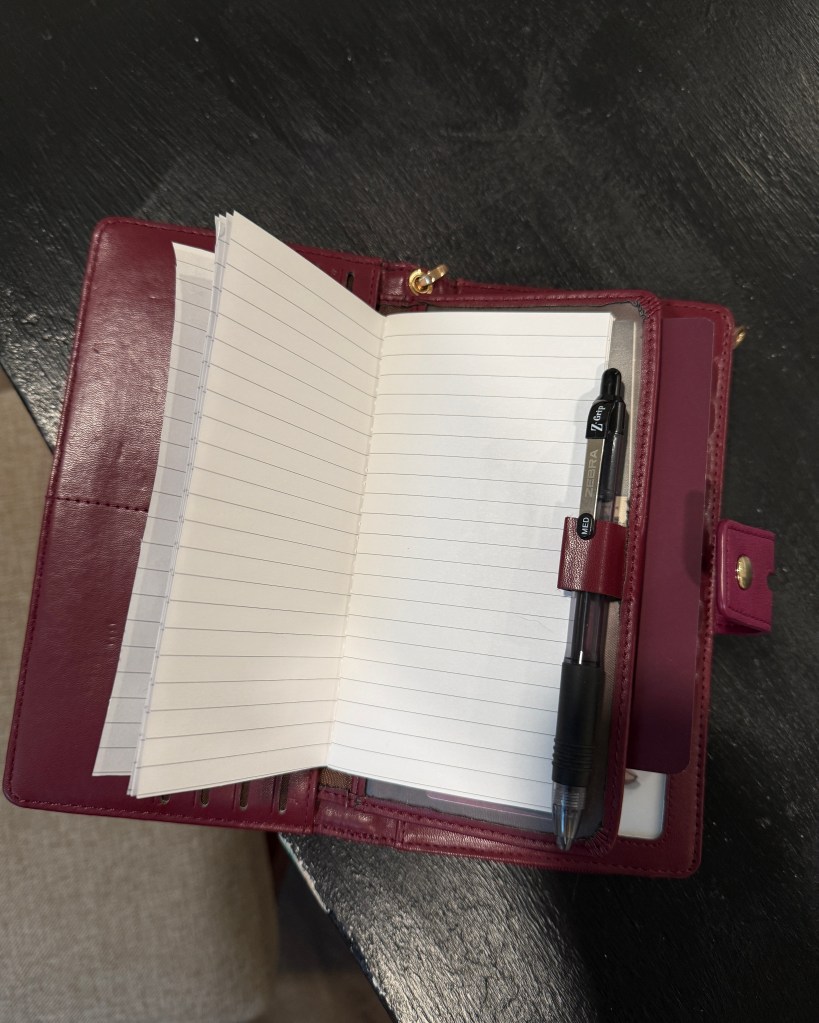
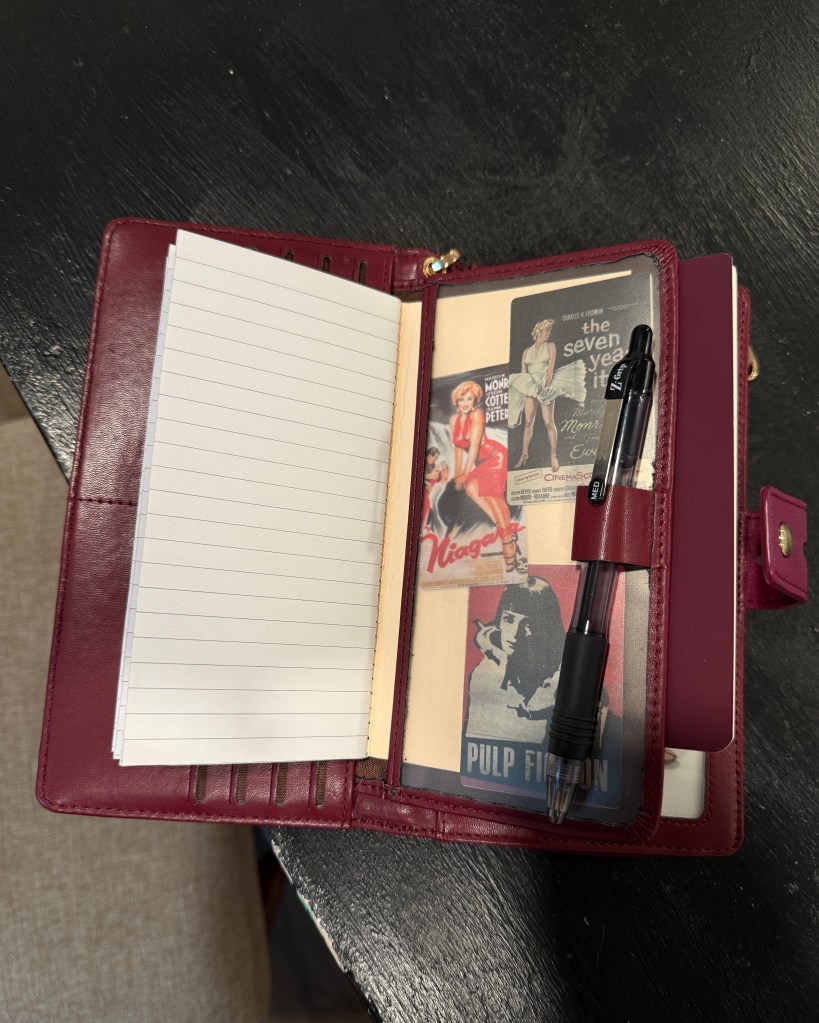
When I first opened the wallet, I could picture a notebook fitting in the front. Conveniently, this wallet had a small loop for a pen in the front, too. I used an X-Acto knife to trim a small lined notebook to the perfect size. I slipped this notebook in, along with a few movie poster stickers.
On the opposite side, I was able to fit a small sketchbook and a few small notecards. That was all I needed to get my travel journal ready!
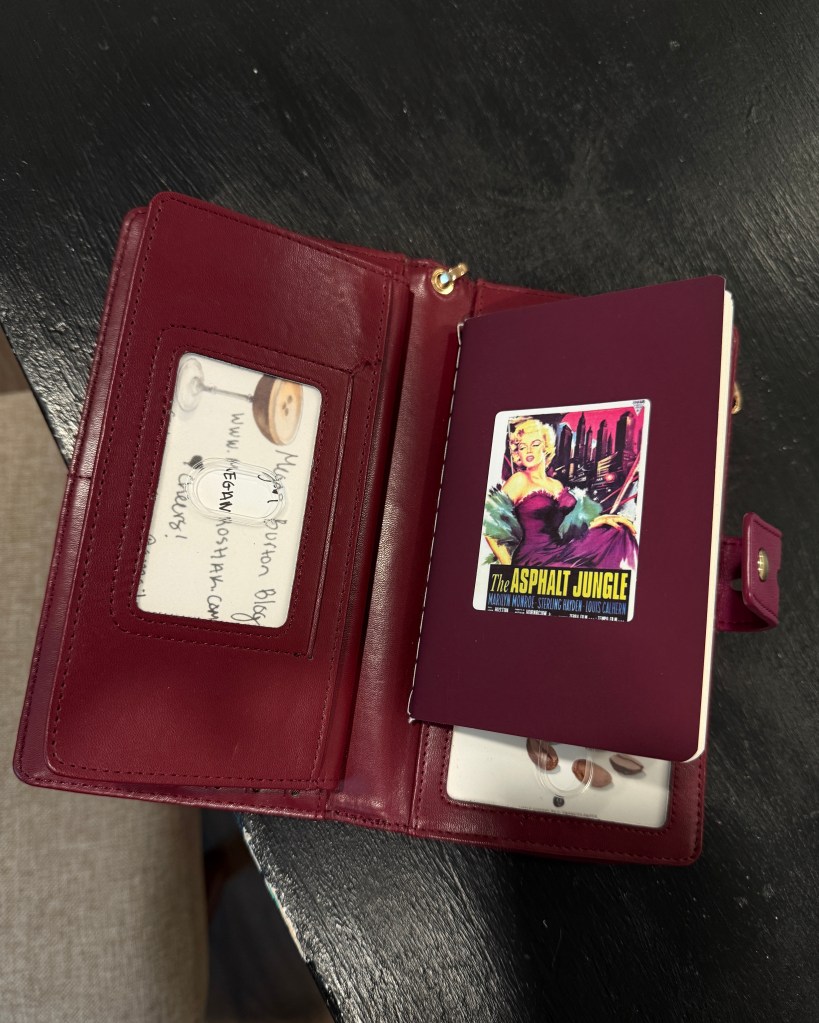
I feel like I struck gold with this $1.99 find since it even has a zippered pouch in the back. It could realistically fit my phone, cards/cash, and anything else I need to take on the go. I’m looking forward to taking this little book on adventures.

Don’t miss the wallets on your next thrift shopping trip! You may just find your new favorite journal.

Do you take a journal on the go? I would love to hear your thoughts in the comments or on Instagram. Let’s chat!

The *Best* Way to Crop Your T-Shirts

The *Best* Way to Crop Your T-Shirts

The way I styled my shirts changed after I saw this Reel in my Instagram feed. In the reel, @torylleigh shares how she cuts her crop tops with a curve rather than a straight across cut. While this may not sound like a huge difference, it actually creates a unique look. If you sometimes feel like t-shirts or basic crop tops make you look “boxy,” you have got to try this cropping method.

Step 1: Try the shirt on to see where you would like it cropped. This ensures that you don’t cut it too short or too long. It may seem like an obvious step, but it’s one that I occasionally regret skipping.

Step 2: Lay your shirt down on a flat surface. Make sure there are no wrinkles; this will cause you to get a jagged cut rather than a clean one.

Step 3: Start cutting the shirt. As you cut, you’ll want to create a half circle. You can fold the fabric over once you are to the center of the shirt to mirror your cuts on the other side. Pro tip: Use fabric scissors. These are sharper, easier to use, and they give you a better cut!

Step 4: Cut down the center of the neckline. This is an optional step depending on the look that you are going for. You can have a plunging v-neck cut, just a slight cut, or no cut. It’s up to you!

Step 5: Pull along the fabric that you cut. When you pull along the fabric, it naturally “curls”/folds over. This helps to clean up any slightly jagged cuts.

And finally, your crop top is ready to wear! I love how chopped-up tops only get better with age. Once you wash and dry this t-shirt a few times, the cuts will soften even more and it’ll be perfectly worn in.

Do you have a different cropping method? I would love to hear your thoughts in the comments or on Instagram. Let’s chat!